- PPT to Video
- ppt
- powerpoint
- google slides
- how-to
Converting PPT to Video
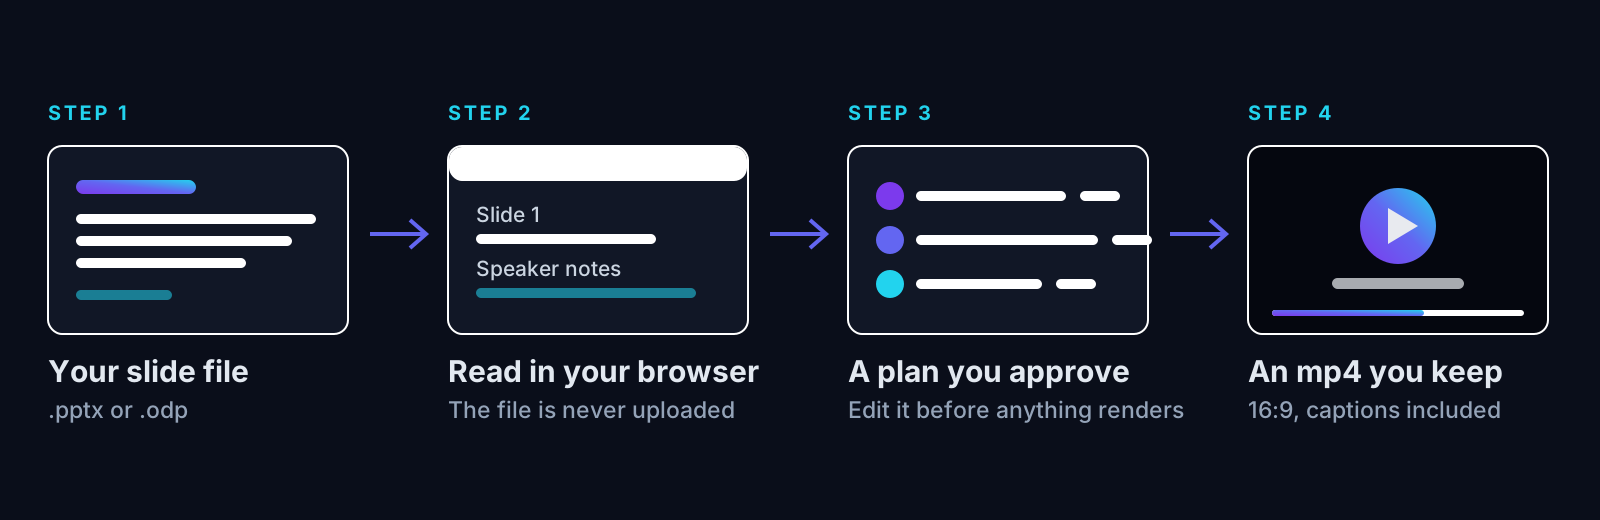
If you already made the slides, don't make them again. MotionBuff reads your slide file, writes a plan, and gives you back a video that talks, moves, and shows captions. Here is how to do it, step by step.

What you need before you start
A free MotionBuff account. No credit card.
A slide file that ends in .pptx or .odp. Those are the two kinds MotionBuff can open.
If your file is something else, save a copy first. It only takes a moment:
Step 1: Open MotionBuff
Sign in and you land on a box that says "Describe the video you want to make." You will fill it in from your slides instead of typing it yourself.
Step 2: Tell MotionBuff to import your slides
Under the box there is a row of small buttons. Click the one that says Format.
A panel opens. Click the tile named PowerPoint.
Close the panel when you are done.
Step 3: Import your slide file
Look at the button row again. The Examples button has changed into Read file.
Click Read file and pick your .pptx or .odp file.
The file itself never gets sent anywhere. This is what MotionBuff pulls out:
- The words on every slide, in slide order
- The speaker notes under each slide
- A list of the pictures if found, named under the slide they sat on
Speaker notes are the good part. Slides are usually short scraps of text. Your notes are closer to what you would actually say out loud, so they make a much better script.
Step 4: Check the results
A small card shows up under the box. It tells you several things.
How much text was added. A very long deck will not fit. If that happens, delete the parts you do not need. Keep the points that matter.
How many pictures were found. They show up as small thumbnails you can click to see full size. Right now those pictures are only there so you can check the file was read properly. They do not go into the video yet.
Any warnings. The most common one is "3 slides had no readable text." That happens when a slide is really just a picture of words — a screenshot, or a scanned page. There is nothing in it to read. Type those points into the box yourself and you are fine.
Step 5: Add your own directions
Click into the prompt box and type your presentation information.
This is plain language. No special words needed. For example:
Keep it friendly. Say the price near the end. Do not use the phrase "best in class."
MotionBuff only uses what is in front of it. It does not invent facts or numbers. So if a figure matters, make sure it is in the prompt.
Step 6: Pick the look
Theme sets the style of every frame. Leave it on Auto and MotionBuff picks one that fits what you wrote.
Overlays turns the frame flourish on and off: your logo, the title in the corner, the progress bar at the bottom, the slide counter, and the captions. A preview shows you where each one sits.
Step 7: Create the plan
Click Create Plan.
What comes back is not a video yet, but an outline. Every slide is listed with a treatment, what it says, and how many seconds it gets on screen.
Changing a plan is easy. Changing a finished video is not.
Step 8: Edit & review the plan
You can change the outline two ways:
Edit it yourself. Click any line and type. Add a slide. Remove one. Move the seconds around. These edits are free and happen right away.
Ask for changes. There is a prompt box that says "Tell the agent what to change." Type something like "drop the pricing slide and add one about support," then click Review with agent. It rewrites the outline and lists what it changed.
Keep going until the outline reads the way you want it.
Step 9: Make the video
Click Create video.
When it finishes you get a preview you can click through. Then you can choose to click Render Video to make a video file.
When rendering completes, you get the video playable in your browser and you can click the Download button to get a copy of the .mp4 file. More on what the video file is and what size it comes out.
Things to keep in mind
Slide presentation fonts and layout are not converted. Only the words are imported. That is on purpose, and it is the reason slides break when tools try to move them between apps.
There is no way back to PowerPoint. MotionBuff reads your slide files, it does not export back to one.
FAQ
What slide files can MotionBuff open?
.pptx and .odp.
Old .ppt files and Apple Keynote .key files will not open. Save a .pptx copy first and use that.
Can I use a Google Slides deck?
Yes. In Google Slides choose File, then Download, then Microsoft PowerPoint. That gives you a .pptx file you can read into MotionBuff.
Why are my slide animations not imported?
Fades, flying text, slide transitions are not converted over from PPTX files. MotionBuff performs its own animations instead.
Does my file get uploaded?
No. Your browser reads the file on your own computer. Only the text that lands in the prompt box gets sent.
Does it read my speaker notes?
Yes, and they help a lot. Notes are usually written in full sentences, so they make a better script than the short lines on the slides.
Will the pictures from my deck be in the video?
Not yet. MotionBuff finds them and shows them to you so you can check the file was read properly, but they do not get placed in the video.
What if my deck is really long?
The prompt box holds 5,000 characters. If your deck is bigger than that, the card under the box tells you exactly how much fit. Trim it down to the points that matter most. Paid plans offer more space.